How To Use A Record Player And Maintain It
Posted by House of Marley on Apr 22nd 2022
The sound of vinyl records is a dream for music lovers who want an experience that exceeds what streaming and CDs can offer. But for listeners who are new to vinyl, operating a record player can feel like flying a plane for the first time—slightly intimidating. If you own one, or looking to purchase one for your home, you need to know how to use a record player and maintain it.
If you can relate, you’re not alone! Record players have a lot of moving parts that look completely foreign to new vinyl lovers. Previously, we compiled a list of terms that vinyl lovers need to know. Now, we’re going to make the beginning of your journey easier by teaching you how to use a record player.
So pat yourself on the back for joining the vinyl club and keep reading to learn how to use a record player and maintain it for years of flawless sound.
Getting Started
Before you “drop the needle,” you need to get everything set up on your new record player. In this first section, we’ll show you how to set up your record player to get the perfect listening experience, free of skipping and distortion.

Find a Flat Surface
If you just bought a new record player, we know you’re probably itching to take it for a test spin, but first, you need to place it on a flat, stable surface.
To get the best performance, the needle needs to trace the record’s groove evenly—essentially the needle is floating on the record itself—which is much harder if your turntable is sitting awkwardly on a crooked surface. Place your record player on a flat surface where it won’t get knocked over. Bookshelves and entertainment centers are ideal, as long they’re in a low-traffic, low-vibration area with plenty of room.
Not sure which spot in your home is the best? We recommend using a regular bubble level to find the flattest surface.
Get Connected
After finding the perfect spot, you connect your system. There are several ways to connect a turntable, and it depends on the style you own and your hi-fi system as a whole. For example, you’ll need to know how a Bluetooth record player works if you have a wireless system and want to make the most of it.
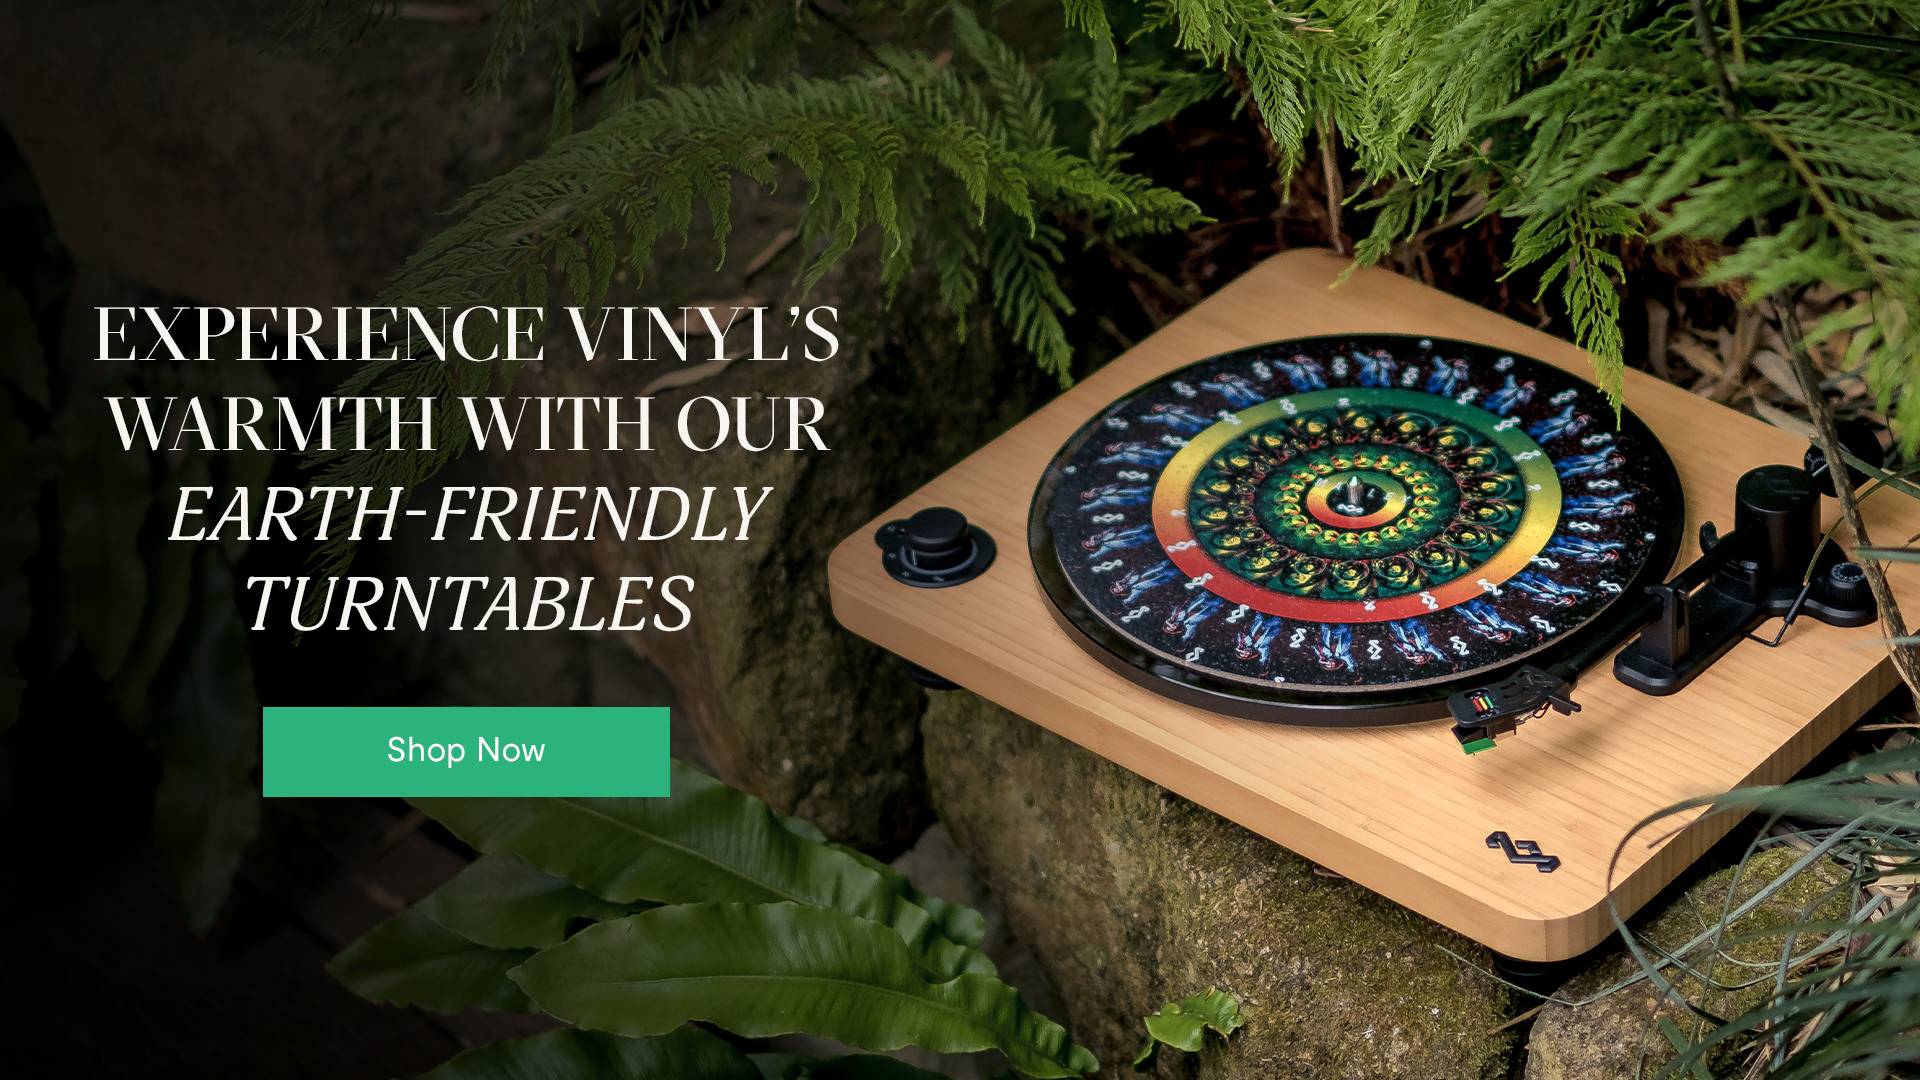
First, you should find out if you need to connect an external phono preamp. Phono preamps amplify sound to a level that’s loud enough for your speakers to reproduce. Preamps are sold separately, but some modern record players like our Stir It Up Wireless Turntable have a built-in preamp and are ready to go—right out of the box! If your record player doesn’t include a preamp, you’ll have to buy one before you can connect your speakers.
Before connecting your speakers, make sure you have the proper cables. For example, our Get Together Duo speakers allow you to connect via RCA cables, as well as Bluetooth.
Just a note, some record players have built-in speakers, but this is hardly an all-in-one solution for a music lover. Despite the convenience of record players with built-in speakers, connecting external stereo speakers will give you better sound quality overall.
Preparing Your Records
Your setup is connected and ready to go, but are your LPs in good enough shape? Vinyl is one of the most immersive ways to enjoy music, but they need a little love and care to get the best sound.
But how do you give a vinyl record the “TLC” it needs to sound amazing? It starts with making sure they’re clean and static-free. By using a simple carbon-fiber brush, you can eliminate both with a single, circular swipe. This simple step will prevent debris from colliding against the stylus. It’s also a quick, easy way to fix a skipping record that has a lot of dust stuck in the groove. By keeping your vinyl collection dust-free, you’ll also prolong the life of your needle.
How to Play Vinyl Records
Now that everything’s set up, you’re ready to experience the sound of vinyl! Let’s get to the fun stuff—how to use a record player.
Place the Record on the Platter
Pick a record from the stack, carefully remove it from its sleeve and place it on the platter—that’s the 12” round mat with the spindle in the middle. Unlike 12-inch LPs, most 7-inch singles require a small adapter to fit securely over the spindle. Don’t worry, our Stir it Up Turntables come with an adapter that fits securely on the record player when you’re not using it.
Choose the Right Speed
Vinyl records come in different sizes that need to be played at a certain RPM (rotations per minute). The industry-standard RPM speeds are 33 ⅓ for LPs and 45 for singles. Pre-WWII shellac records, an old format that’s completely obsolete, require a turntable that can spin at 78 RPM.
If Nirvana’s Nevermind LP sounds like a chipmunk special, you probably selected the wrong playback speed. Not to worry—playing a record at the wrong speed won’t damage the vinyl. Just change the speed and get back to the music! Keep in mind that some 12” records are set to play at 45 RPM, so check the record to see what the playback speed is set to when in doubt.
Queue the Record
With your turntable up to speed, it’s time to queue your record with the needle.
We’ve used the phrase “drop the needle,” but please, be gentle with it! The needle, also known as a stylus, is very important to how a record player works. And because of its sensitivity, you need to be careful not to apply pressure when you place it on a record. As we mentioned before, the needle gently floats on the record—it shouldn’t dig in at all.
There are a couple of different ways to queue the record, depending on the type of turntable you have. Some turntables allow you to drop and raise the needle using a small lever attached to the tonearm. Other models require you to do everything manually, which a lot of audiophiles prefer as it gives them more control. Either way, slow and steady is the key here.
Once the platter starts spinning, gently place the needle at the edge of the disc—that’s all there is to it! Assuming your sound system is connected properly, the only thing left to do is enjoy the music.
One quick note—if everything is set up properly but you don’t hear the music start, you might have placed the needle a little too close to the edge of the record. It happens to the best of us! Simply lift the needle, place it closer to where you see the grooves and try again.
How to Maintain a Record Player
Record players are finely-tuned pieces of machinery that require occasional upkeep, but they’re easier to take care of than you think. In fact, there are really only two elements of your record player that you might need to ever even replace.
Here are a few quick tips to maintain your record player so you can enjoy it for years to come without visiting a repair shop or worse, buying a new one. Maintaining the record player you already have is more sustainable for the environment than tossing it out when something goes wrong.
Take Care of the Needle
Taking care of your needle is one of the most important aspects of maintaining a record player, and it’s also one of the easiest things to do.
Needles that are poorly taken care of can cause distortion, skipping or permanent damage to your records, but you can continue getting pristine sound with a stylus cleaning kit. There are a ton of DIY ways to do it too, but cleaning kits come with soft brushes and liquid solutions that are specifically designed for turntable maintenance.
Cleaning your needle regularly will keep the dust away, but you’ll eventually have to replace it. Every needle has a lifespan that spans up to 1000 hours of playtime. Although you can learn how to replace the needle on a record player, speaking with an experienced tech can save you a lot of time.
Replace the Belt When Necessary
This tip only applies to music lovers who have a belt-driven turntable. Unlike direct-drive turntables (more popular with DJs), belt-driven models have a rubber belt that rotates the platter. Over time, the belt loses elasticity and needs to be replaced.
Record players with worn belts suffer from speed fluctuations known as “wow and flutter.” To prevent this, you should replace the belt after three to five years of regular use. When in doubt, trust your ears! When all your LPs sound a bit too fast or slow, the belt may need some attention.
Turntable belts are very affordable and can be installed in seconds. Check with the manufacturer to make sure you’re purchasing a belt with the right length and width.
Enjoy Your Turntable
There’s a lot to learn about turntables, but now that you know the basics, you can enjoy your vinyl collection for years to come. When you’re ready to take your sound to the next level, check out House of Marley turntables and Bluetooth speakers for a premium listening experience.


